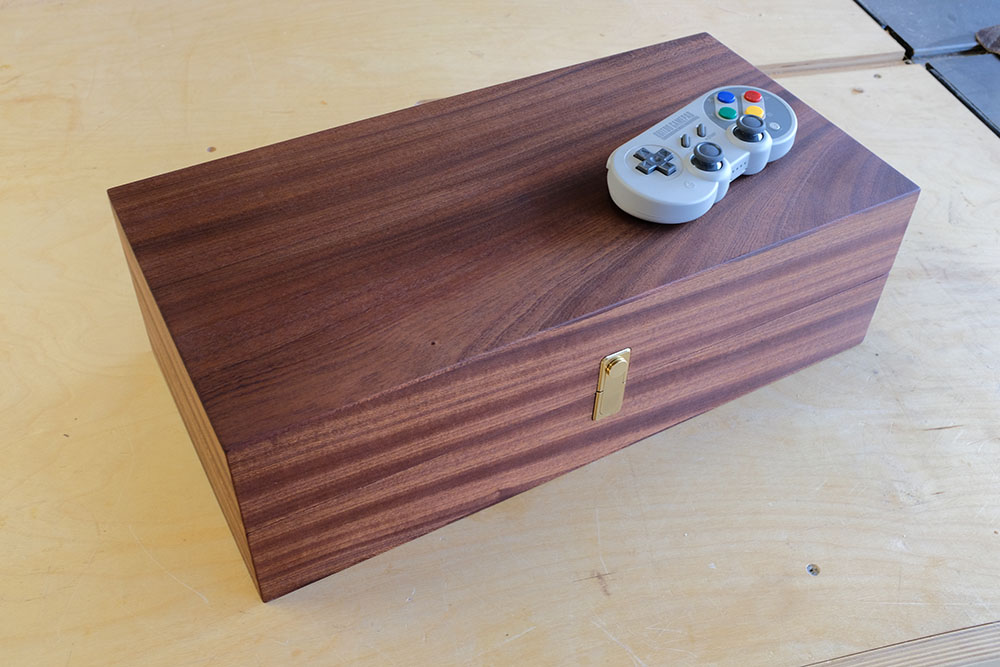
Building the Console Box
A complete tutorial for building a Raspberry Pi-powered console and arcade emulator in a portable carrying case.
What is this?
I'm a child of the 80s. My first system was an Atari 2600. Then an NES, Sega Genesis, Gameboy and Super Nintendo. I've been able to play these games for years using an emulator on my computer, but I always wanted something a little more special. I couple of years ago I built a Gameboy Zero which runs all of these systems. But the screen is small, the battery only lasts a couple of hours, and it's really meant for one player.
The brains behind this system is the Raspberry Pi 3. The Pi is a perfect computer for embedding in a system like this. It's plenty fast enough to run the systems I care about (up to a Nintendo 64, although some games run better than others). It's pretty energy efficient and allows about 8 hours of play with the battery I chose.
The interface for our system is RetroPie. It is a version of the default Raspberry Pi operating system with a front-end for easy access to all of the emulators and games on your system. We'll customize this a bit to make it look good on our 4:3 screen (by default it assumes you're running on a 16:9 screen). You'll learn all you need to know to get it working later in this tutorial, but if you want an overview of what it does and how it works, here's the official beginner's guide video:

Inspiration
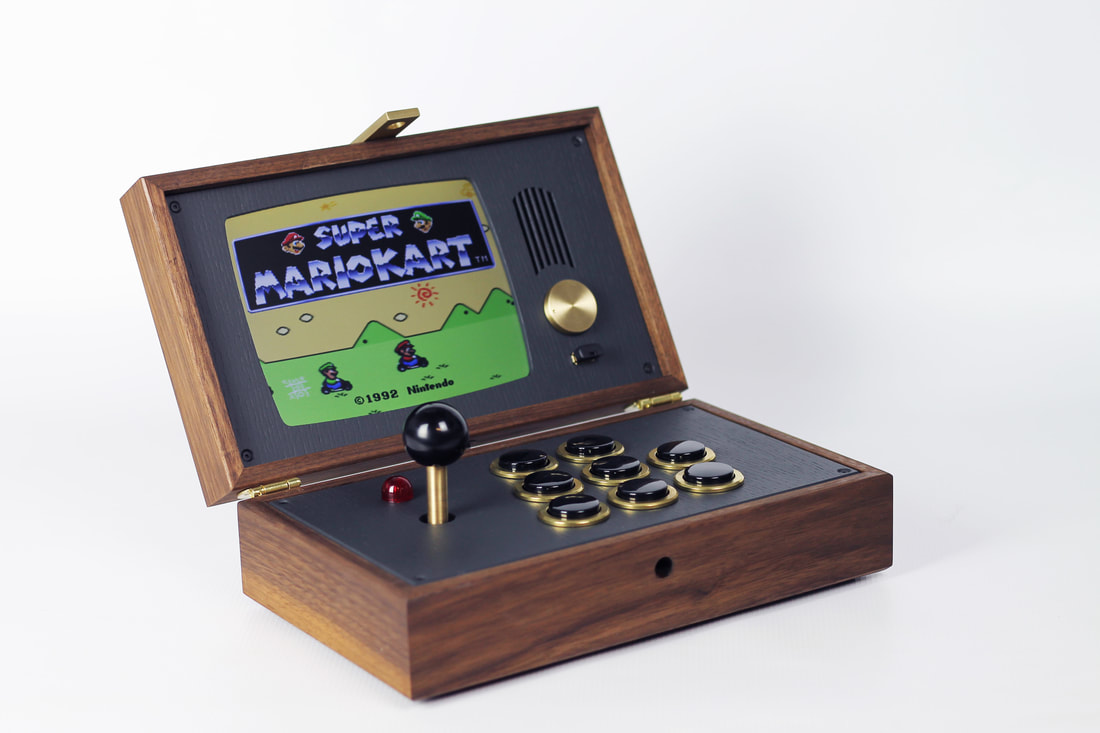
I first saw the R-Kaid-R several years ago when it was first discovered by the internet. A beautiful machine, but limited to joysticks which I was never a fan of. Plus it cost €2,500 (around $3,000).
Recently the creator announced the Cary42 (for a mere €2,600) which had a similar style, but for two players. Again, using joysticks.
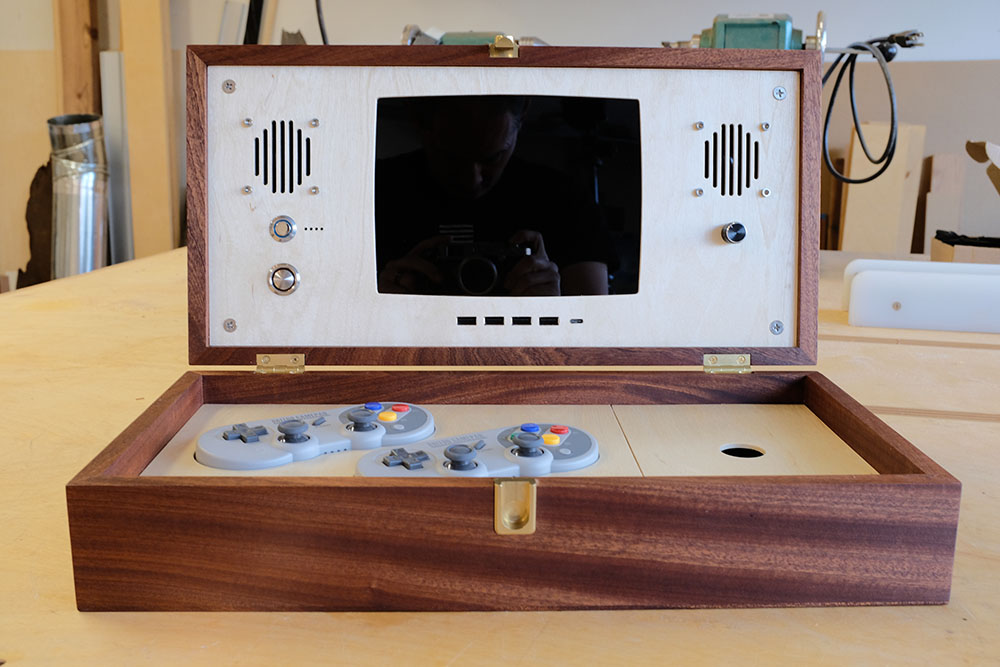
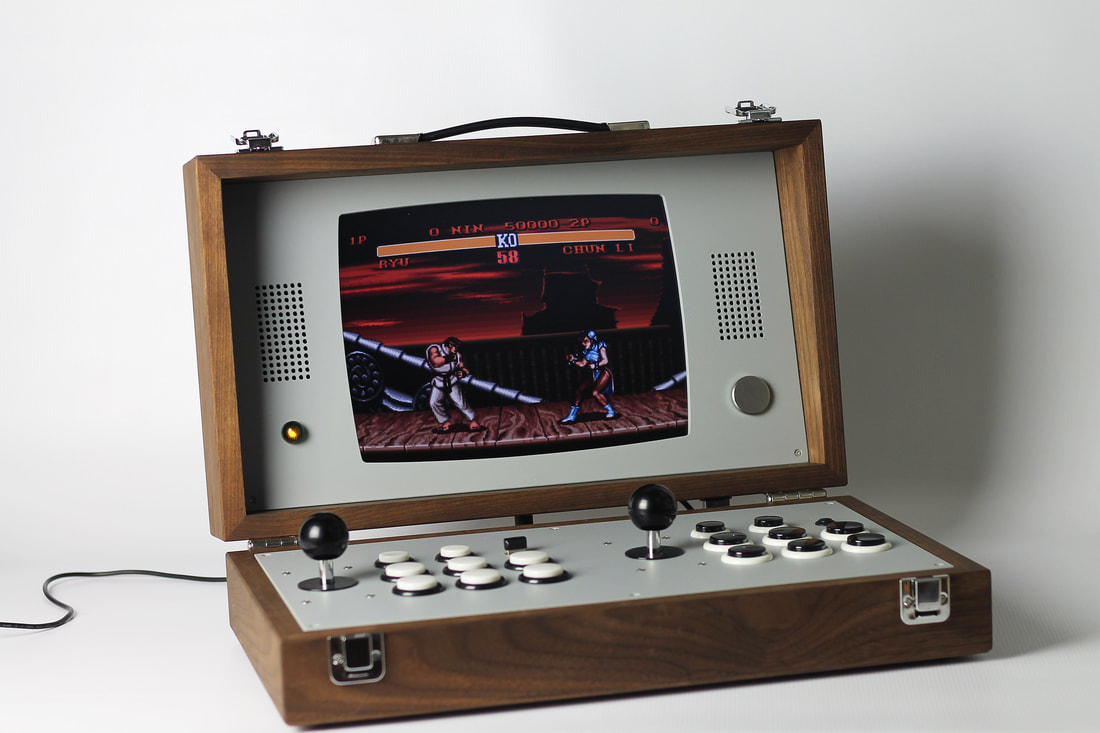
However I loved the curved screen and retro style of the R-Kade-R and Cary42 and knew I wanted something like that in my own system. I also discovered a shader (more on those later) that would add scanlines to the screen to make it look just like it was running on an old CRT television.
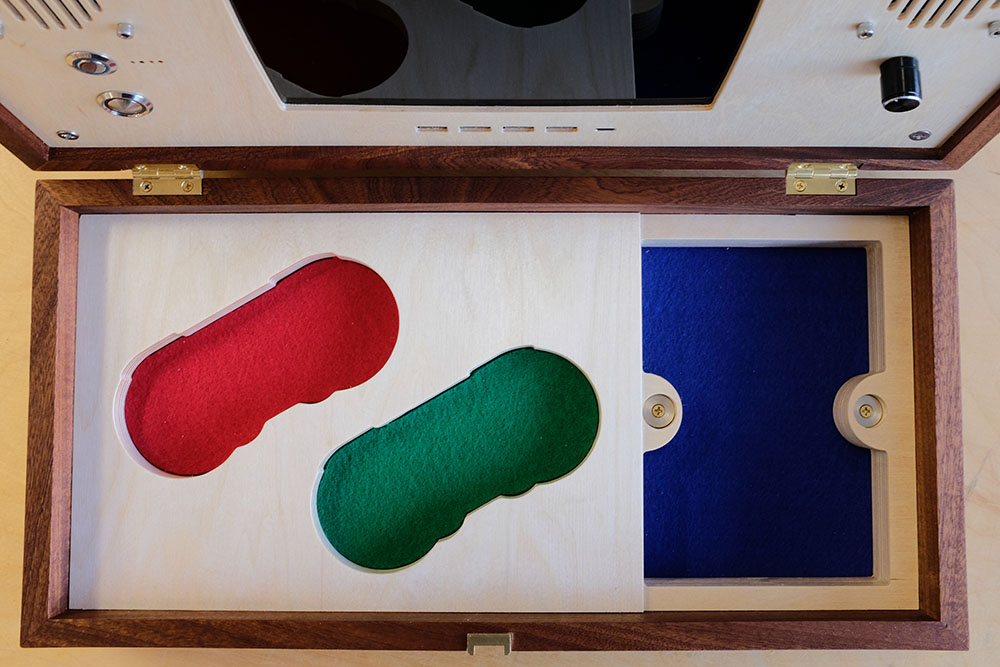
About those joysticks...if I was going to make something like this then I wanted it to use what I used in my childhood—handheld controllers. My first designs included storage at the bottom for two each of Nintendo, Genesis 6-button and SNES controllers and enough USB ports to connect them all. The base was going to need to be almost 4 inches deep to accomodate everything, but I thought it was only my option.
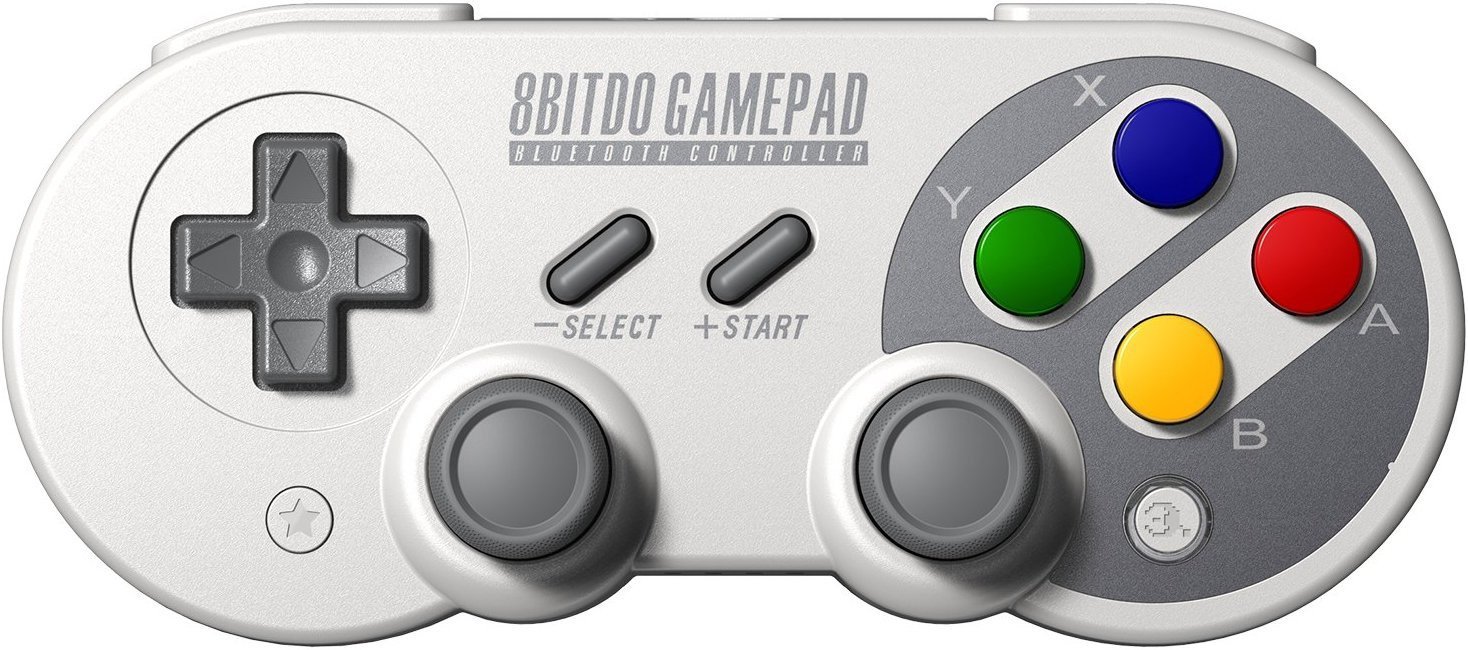
Then 8bitdo announced their SF30 Pro and SN30 Pro controllers.
These would allow me to simplify the design by an order of magnitude while providing a single controller that could handle any system I threw at it. They feature classic SNES style but with analog sticks and another pair of L and R shoulder buttons. They're Bluetooth (which the Raspberry Pi 3 supports natively) and also work with a USB cable if needed. In short, they did everything I needed and they looked and felt great, too. Did I mention I love these controllers?
Prerequisites
WARNING
This build involes the use of several tools which can seriously maim and/or kill you if you don't know what you're doing. Please don't make this project the first time you've ever used a table saw. Get acquainted with the safety features of your tools and make sure you know how to use them before tackling this project.
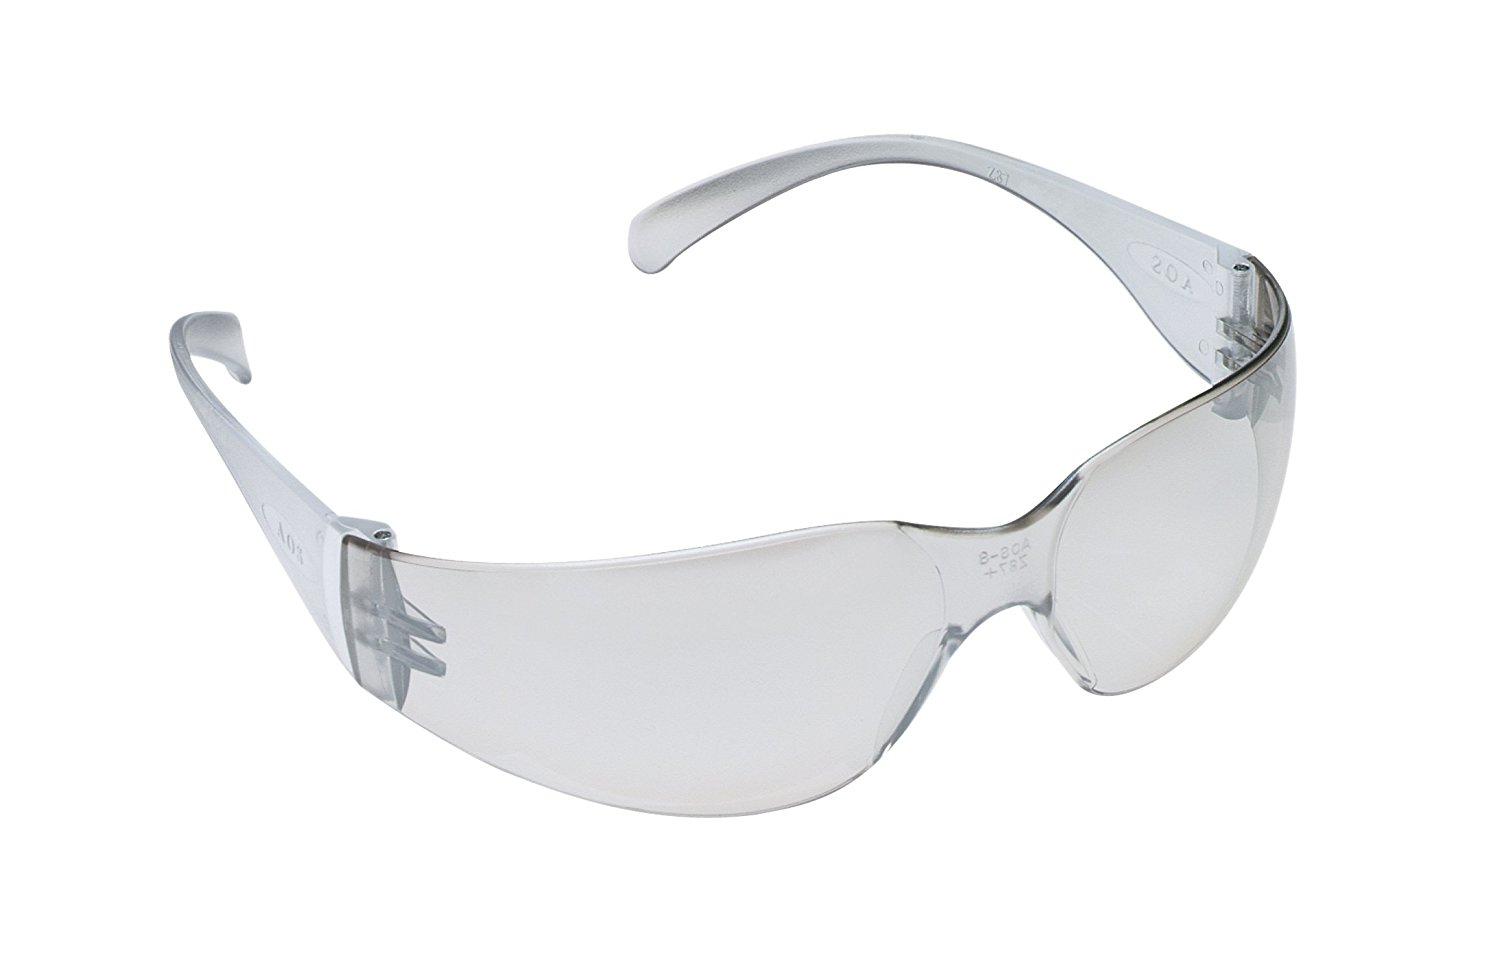
I can't stress this enough: wear safety glasses. You've only got one pair of eyes and a great pair of safety glasses are cheap and will last you a while (just don't set them down on the lenses, they can scratch easily).
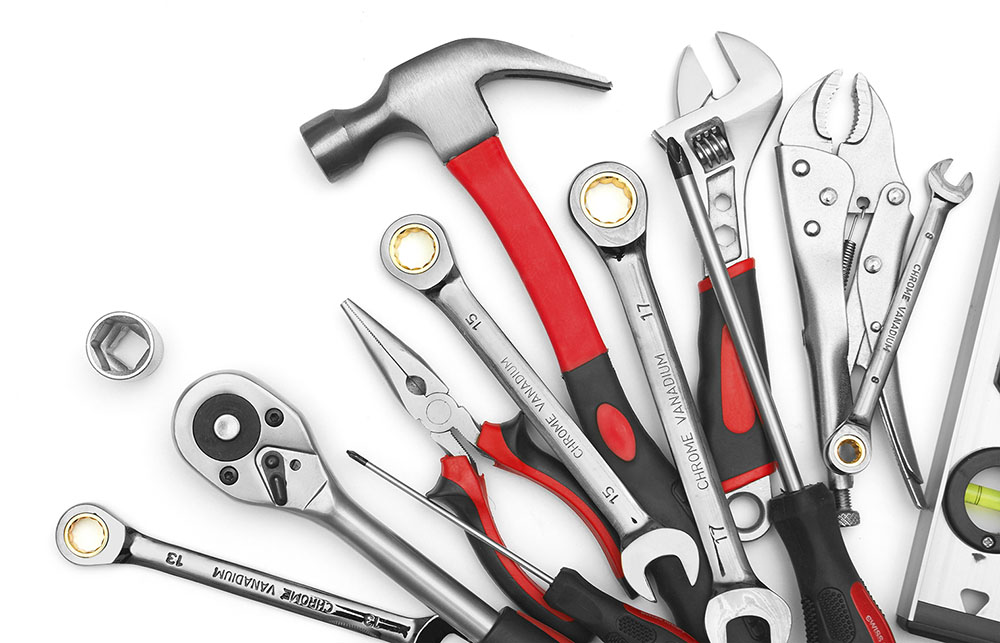
This build is probably not best suited to someone who's never built anything from scratch before. This build will involve cutting wood, soldering electronics and using the command line in Linux. If you build this system the same way I do in the Construction section, here are the tools you'd need:
- Table Saw
- Band Saw
- CNC machine
- Hand planes
- Chisels
- Files (rasps)
- Drill and bits (various sizes)
- Router and bits (various sizes)
- Sandpaper
- Wood glue
- Wood finish (oil and wax)
- Hot glue gun
- Wire cutters
- Wire strippers
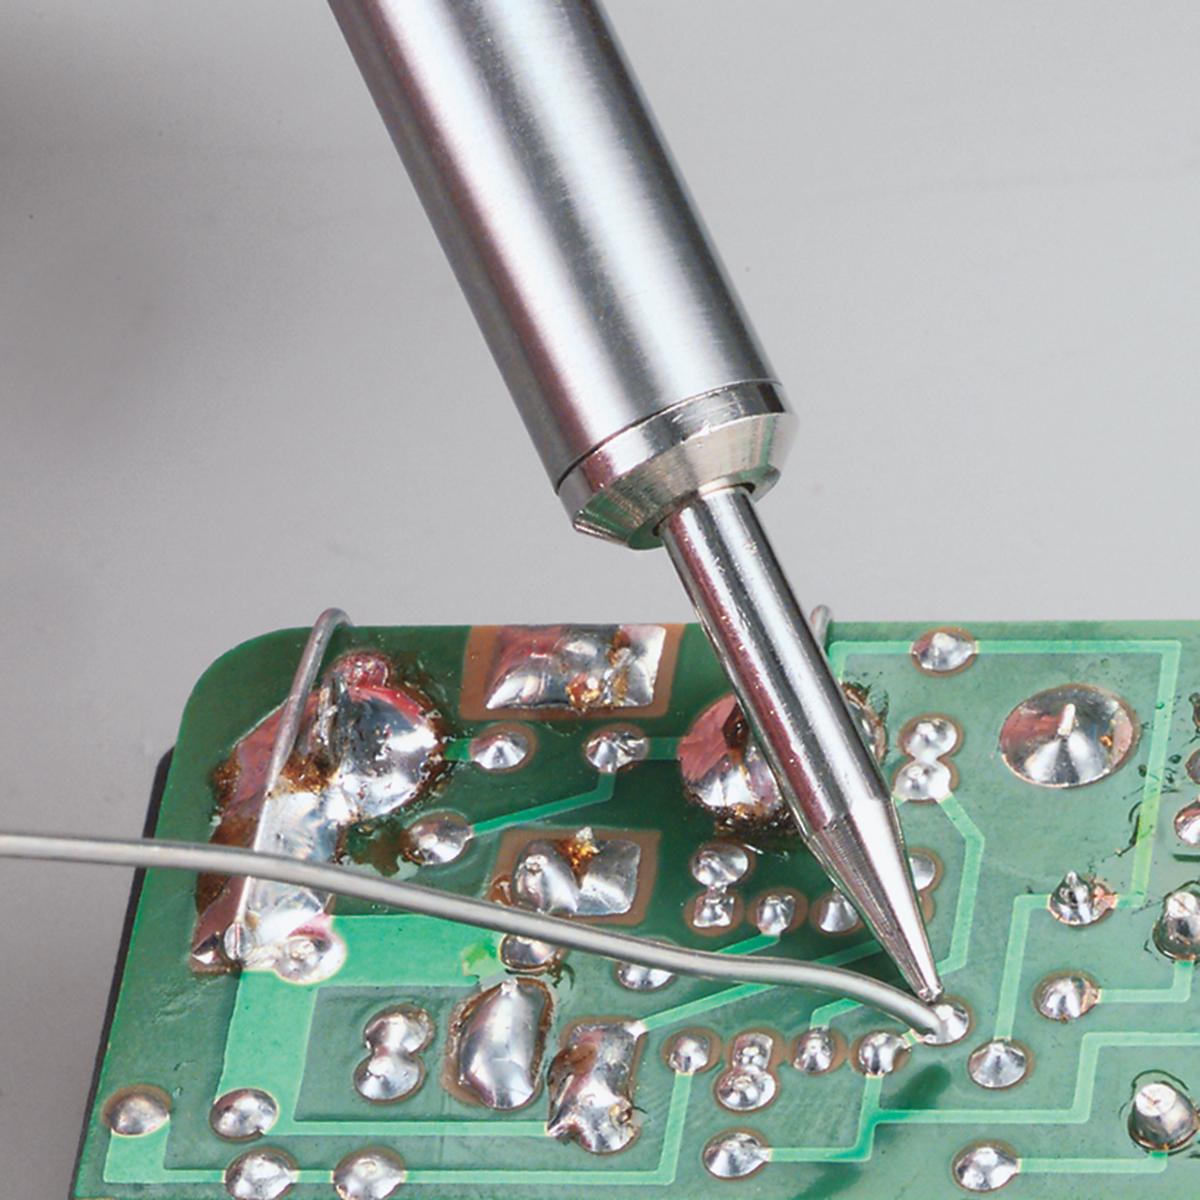
- Soldering iron
You could get away with less than this set of tools but you'll need to find other techniques for completing some of the construction steps. You could build the box with a saw and nails if you wanted, which would cut out half the tools on the list! The soldering iron and wire tools will be required no matter what. If you've never soldered before there are plenty of tutorials out there.
We'll also be making changes to RetroPie and the Raspberry Pi configuration which can be scary. There will be clear instructions walking you through each step so this should not be an issue and even if you completely botch something you can just reinstall from scratch and try again.
Ready to get started? Let's see what we parts we need...